Introduction
Debugging network traffic for your app can be useful, and sometimes necessary if the data is not what is expected or inconsistent.
The Proxy
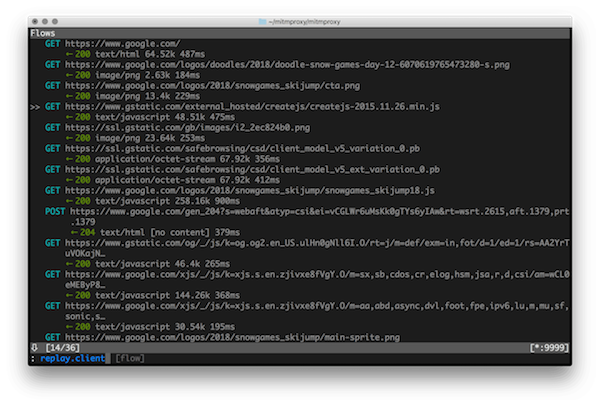
I prefer the open source proxy [mitmproxy](https://mitmproxy.org =300x203). Easy to install on OSX with homebrew.
brew install mitmproxy
I’ll leave it up to you to explore its greatness, I just wanna clarify the android setup.
Steps
1) mitmproxy
Choose a port (ex. 8888) and start the program: mitmproxy -p 8888:
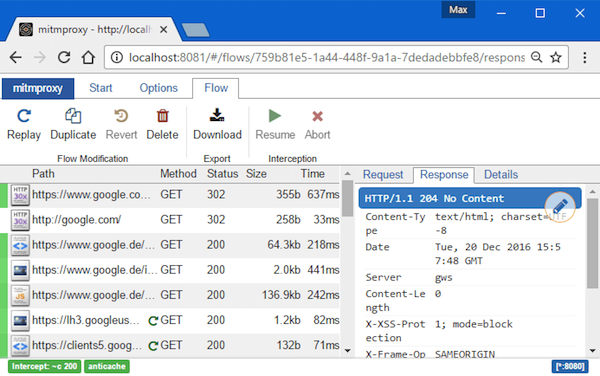
If you prefer a web interface mitmweb:
2) Android
Find your local machine IP address, on OSX this can be found in network preferences. For example 192.168.1.55.
Alternatively, find your public IP address on whatismyip.com. For example 55.55.55.55.
2.1) Emulator
a) Open the extended controls from the emulator.

b) Go to Settings and click on the Proxy tab. Enter your IP address and a port. 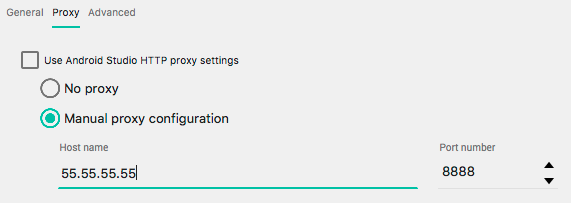
2.2) Device
Download a proxy app and enter the same settings.
2.3) Certificates
a) Open the mitmproxy portal to download its HTTPS certificate: https://mitm.it
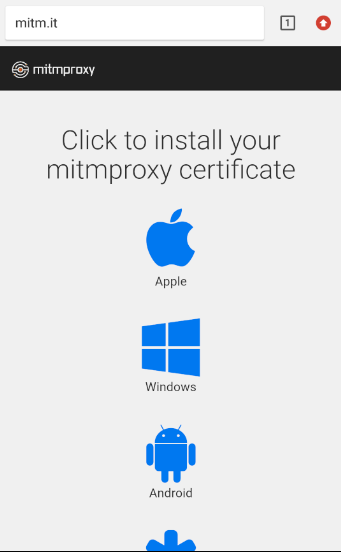
b) Download the Android certificate and install it. Name it whatever your want.
Gotcha
Starting in Android N, user certificates are not used by default. Your app will have to define a network configuration to use the certificate.
Configuring this is possible only during debugging using the debug-overrides directive.
<?xml version="1.0" encoding="utf-8"?>
<network-security-config>
    <debug-overrides>
        <trust-anchors>
            <!-- Trust preinstalled CAs -->
            <certificates src="system" />
            <!-- Additionally trust user added CAs -->
            <certificates src="user" />
        </trust-anchors>
    </debug-overrides>
</network-security-config>